
A move-out inspection can turn on details that are easy to miss when you are surrounded by boxes, elevator reservations, and a truck that is already double-parked. The best move out cleaning tips are not about making an apartment look perfect for photos. They are about restoring the space to a clean, cared-for condition so your landlord or property manager has fewer reasons to deduct from your security deposit.
For New York renters, timing matters just as much as technique. Start earlier than you think, clean the apartment after it is mostly empty, and focus on the surfaces that show daily use. A clean home makes the handoff easier, whether you are moving across town or heading out of the city.
Start With Your Lease and a Walk-Through
Before grabbing supplies, review your lease for move-out requirements. Some buildings expect professional carpet cleaning, appliance cleaning, or the removal of all trash from the unit and hallway. Others will charge for items left behind, even if they seem minor.
Walk through every room with your phone and take dated photos before you begin. Capture existing damage, such as chipped tile, worn flooring, cracked caulk, or scratches that were there when you moved in. Then take another set of photos after cleaning. This gives you a clear record of the apartment’s condition if there are questions about your deposit later.
Do not spend hours trying to repair normal wear and tear. Small scuffs from everyday living may be expected, while holes, stains, and broken fixtures may need attention. If you are unsure, ask your building manager what they consider tenant responsibility before making a fix that could create a bigger problem.
Clean Only After the Apartment Is Mostly Empty
Cleaning around furniture is slower, and it hides the places inspectors notice once the room is cleared. Schedule your main clean after the movers have taken out the large pieces and you have packed most of your belongings.
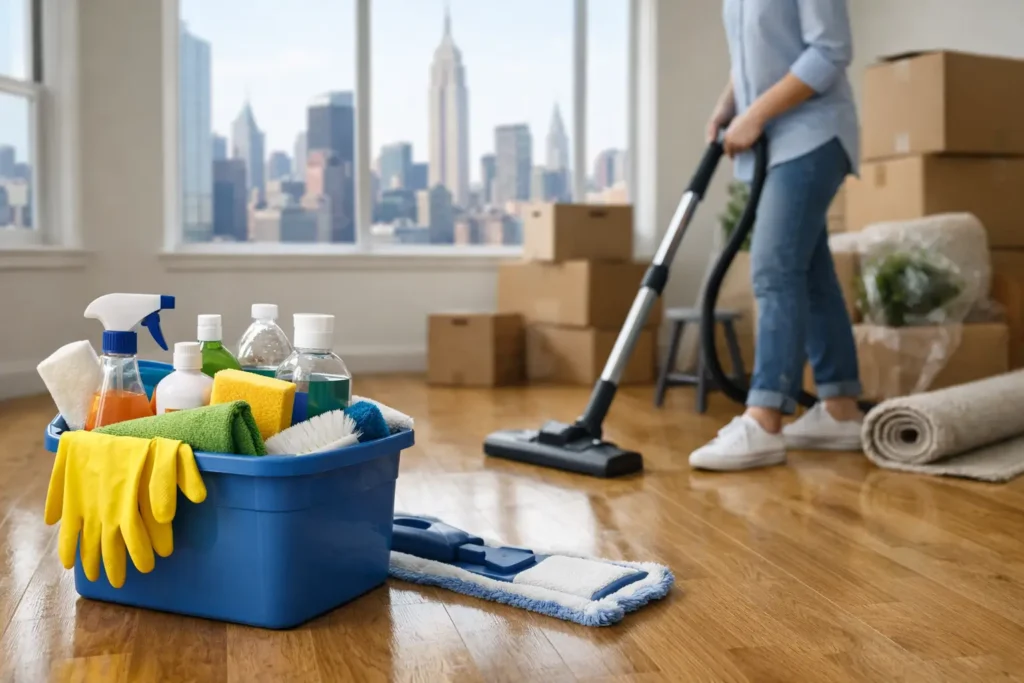
Leave yourself a practical cleaning kit: an all-purpose cleaner, glass cleaner, degreaser, disinfectant, microfiber cloths, scrub sponges, a vacuum, mop, bucket, trash bags, and a small brush for grout and corners. Use products as directed, especially on stone counters, hardwood floors, and stainless steel. Strong chemicals can damage finishes, and a damaged surface is much harder to explain than a little leftover dust.
Work from top to bottom in each room. Dust vents, shelves, light fixtures, and window ledges first. Then wipe walls and surfaces, clean fixtures, and finish with the floors. That order prevents you from re-cleaning the same area after dust falls.
Best Move Out Cleaning Tips for the Kitchen
The kitchen is often the highest-stakes room because grease, crumbs, and food residue build up in places that stay hidden during daily life. Empty every cabinet and drawer, then vacuum or wipe out loose debris before cleaning the interiors. Do not forget the cabinet fronts, handles, and the narrow space along the top of upper cabinets.
The oven deserves extra time. Remove racks if possible, clean baked-on residue with an oven-safe product, and wipe the door glass from both sides where accessible. A self-cleaning cycle can help in some ovens, but check the manufacturer guidance and allow plenty of time for the appliance to cool. If the oven has heavy buildup, this is one job where professional help can save a long evening.
Pull out the refrigerator if it is safe to do so. Clean underneath and behind it, wipe the exterior, empty the drawers, and remove all food. If you are leaving the fridge unplugged, dry it fully and leave the door slightly open to reduce odors and mildew.
Finish with the sink, faucet, backsplash, countertops, stovetop, microwave, dishwasher, and range hood. Pay close attention to grease around burners and the hood filter. A kitchen can look clean at first glance but still fail an inspection when those areas are sticky.
Give the Bathroom a Deep, Detailed Reset
Bathrooms show soap scum, hard-water marks, hair, and mildew quickly. Start by applying cleaner to the shower, tub, toilet, and sink so it has time to work while you handle mirrors, cabinets, and fixtures.
Scrub the tub or shower walls, paying attention to corners, grout lines, the drain, and the track on sliding doors. If there is mildew in caulk, a targeted mildew remover may help, but do not mix cleaning chemicals. Bleach-based products and other cleaners can create harmful fumes when combined.
Wipe inside the vanity, medicine cabinet, drawers, and shelves. Clean the mirror until it is streak-free, polish the faucet, and disinfect the toilet inside and out, including the base and the floor behind it. Replace nothing unless your lease requires it, but remove every personal item from the shower caddy, cabinet, and drawer.
Do Not Skip Walls, Windows, and Small Fixtures
A spotless floor will not distract from obvious marks on the walls. Use a damp microfiber cloth or gentle wall cleaner to spot-clean scuffs near entryways, light switches, doors, and furniture lines. Test any product in an inconspicuous area first, especially on flat paint, which can show uneven patches after aggressive scrubbing.
Clean interior windows, window sills, and tracks where dust gathers. In a city apartment, window ledges can collect a surprising amount of grime. If exterior windows are not safely accessible, do not lean out or take risks. Clean the interior side and let building policies guide the rest.
Switch plates, doorknobs, closet tracks, baseboards, radiators, vents, and ceiling-fan blades are small details with a big visual impact. They are also the spots people tend to overlook when they are rushing. Use a dry brush or vacuum attachment for vents and radiator covers before wiping them down.
Floors Need the Right Method
Vacuum carpets thoroughly, including closet floors and edges along baseboards. Treat visible stains carefully and avoid soaking the carpet, which can leave odors or encourage mildew. If your lease requires carpet cleaning or there are pet stains, professional service is usually the safer choice.
For hardwood, laminate, and vinyl floors, vacuum first and then use a cleaner appropriate for that surface. Too much water can damage wood and seep into seams. A lightly damp mop is usually enough after debris is removed.
Check under appliances, behind doors, inside closets, and along the perimeter of each room before calling the floors finished. These areas are easy to miss and make an otherwise clean apartment look rushed.
Remove Every Last Item and Piece of Trash
A common move-out mistake is leaving behind items that seem helpful: extra hangers, cleaning bottles, shelf liners, old furniture, or unopened food. Unless your landlord specifically asks you to leave something, take it, donate it, or dispose of it properly.
New York buildings often have specific trash, recycling, and bulk-item rules. Plan ahead for disposal so bags do not end up in the hallway, lobby, or curb at the wrong time. If you are moving out of a walk-up or have a tight building deadline, book junk removal or arrange a pickup before your final day.
Do one final sweep of cabinets, drawers, closets, storage areas, and the mailbox. Then take out the trash after your final cleaning pass. There is no point polishing the kitchen if a full trash bag sits by the door overnight.
Know When to Bring in a Move-Out Cleaning Team
A DIY clean works well when the apartment is already in good shape, you have enough time, and you can reach every area safely. It becomes harder when you are coordinating movers, working long hours, managing a large home, or dealing with heavy kitchen grease, deep bathroom buildup, or upholstery stains.
Professional move-out cleaning can be a practical choice when your deadline is tight or your deposit matters more than spending a full weekend scrubbing. Smart Cleaning helps New York households handle the final reset with dependable scheduling and detailed attention to the rooms that need it most.
Before you hand over the keys, walk through the empty apartment slowly in daylight. Open every cabinet, look behind every door, and stand at the entrance of each room. The goal is simple: leave a space that looks ready for its next resident, and give yourself one less moving-day headache.